


Uncategorized | Aug 11, 2012
Check out Miss Nelson’s second grade classroom tour

By Angela Watson
Founder and Writer
Check out Miss Nelson’s second grade classroom tour
By Angela Watson
Miss Nelson shows us around her beautiful 2nd grade classroom! She shares tips for decorating, organizing, and more.
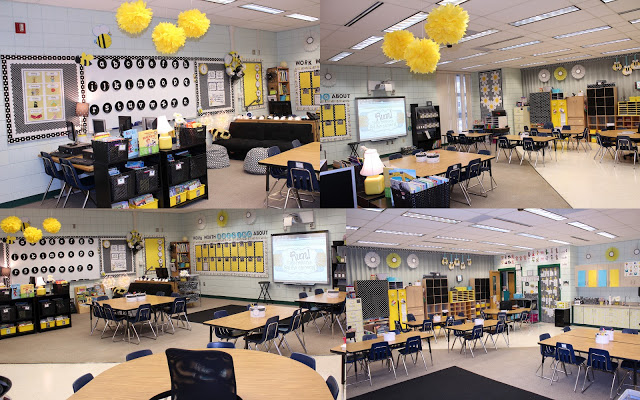
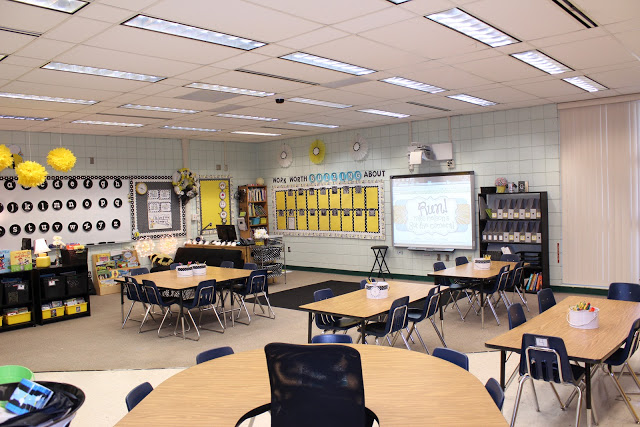
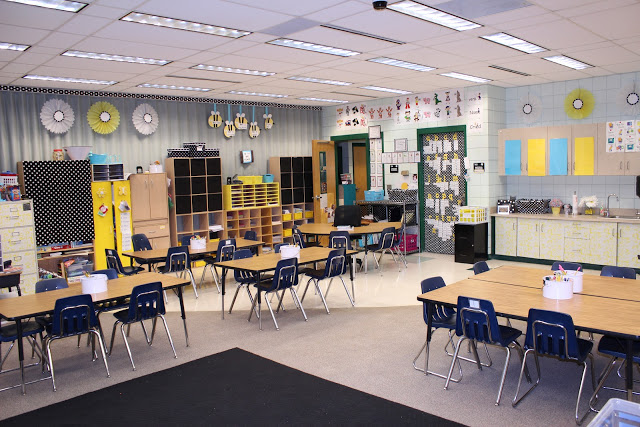
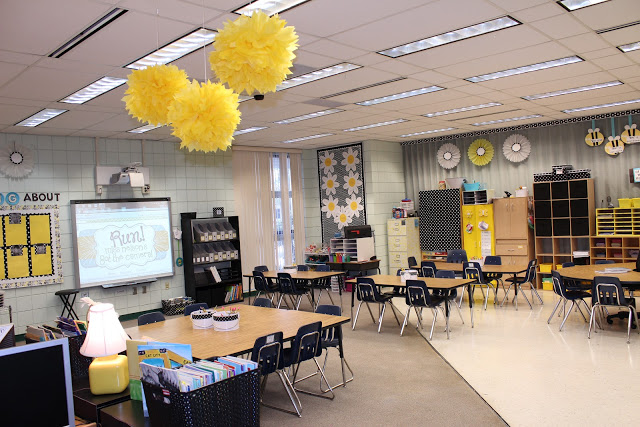
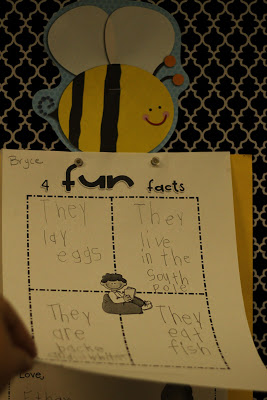
Pictures of a second grade classroom
Hi everyone! I’m Miss Nelson from Run! Miss Nelson’s Got the Camera. I’m always taking pictures so my kids know to RUN! when I break out my camera. Luckily, I had a few hours to take some pictures without the students. Here is my classroom tour from the 2012-2013 school year. I’d love for you to check it out. Be sure to also visit my blog as I am always having giveaways, sharing tips, and adding free resources.
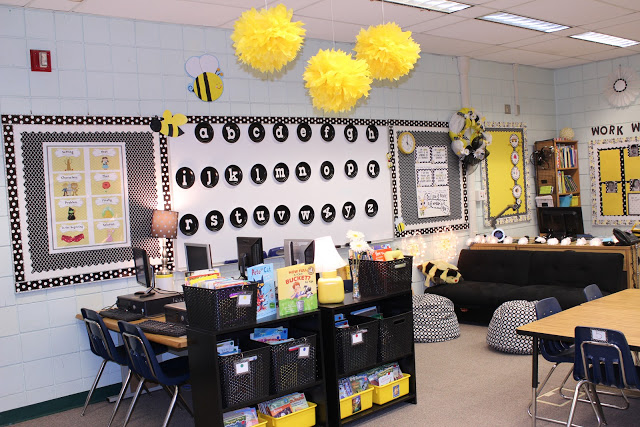
Inspiration from Schoolgirl Style
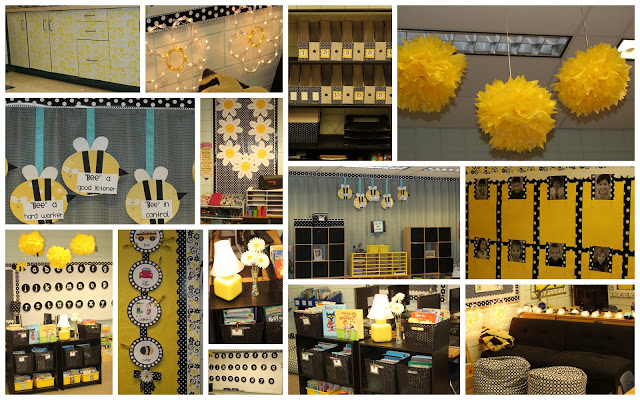
Tips for classroom decoration that I’ve learned from Schoolgirl Style:
- Have consistent colors throughout the room
- Borders and Bulletin boards should be cohesive in colors
- Double your borders to make a bigger impact
- Hide clutter with fabric or cute baskets
- Be sure to have a focal point
- The smallest details make the biggest difference
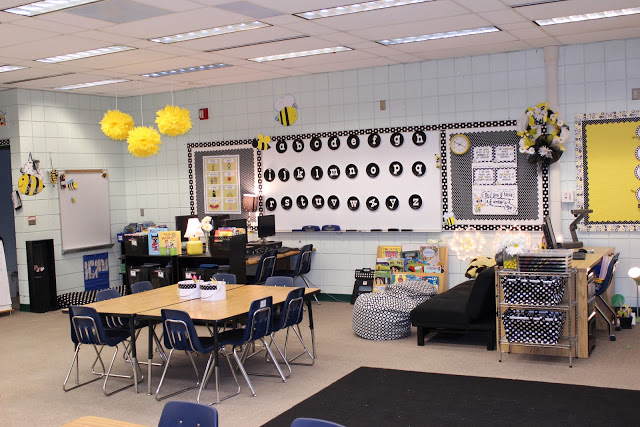
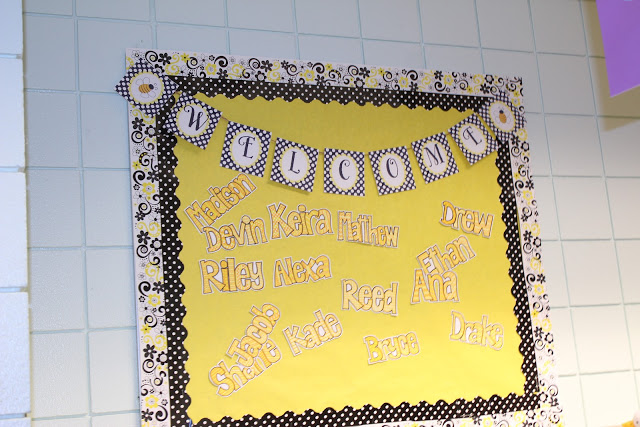
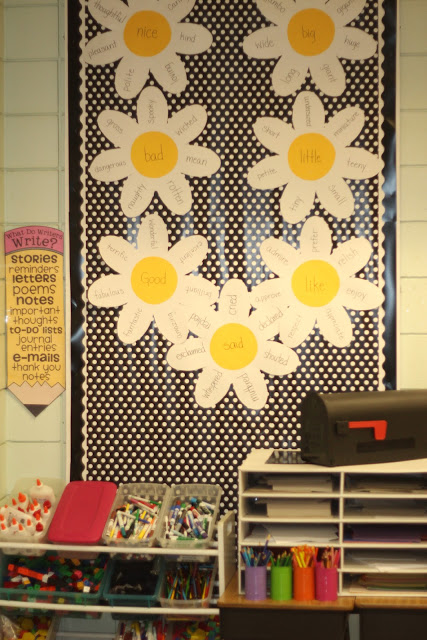
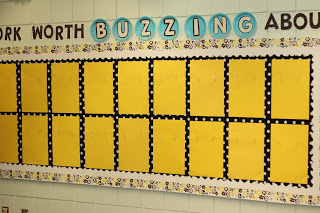
Bulletin boards 101
Oh how things have changed throughout the years. My first couple of years I had border to match every season and thematic unit. I would spend hours switching the fabric every few weeks. Not only was this exhausting for me but it really was too busy for my students. My room was filled with color. Some could describe it as skittles exploding in my room. Now I have learned a few things.
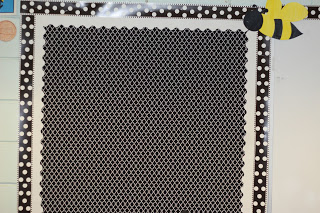
- Tip #1 Cohesive backgrounds The best tip is to keep the boards cohesive throughout the room. I like using fabric so I stick with black and white. I sometimes pick a different pattern but the colors are all the same. Wrapping paper is also very helpful along with twin bed sheets.
- Tip #2- Cohesive borders Another thing I love is keeping the borders cohesive as well. I no longer need storage for my borders because I only pick a few patterns. To make my boards fun, I layer the borders. I think it frames the boards much better than a single border.
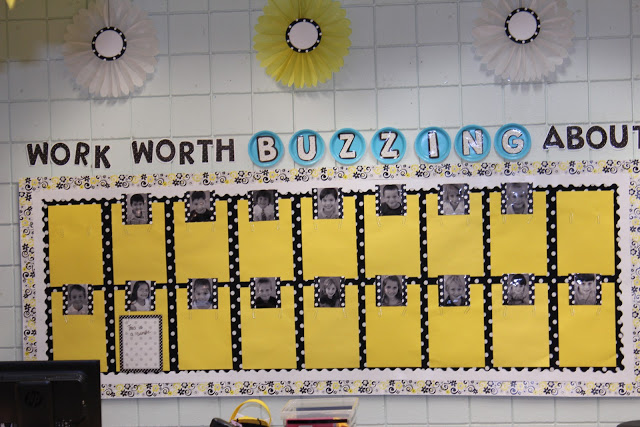
- Tip #3-Student space The last tip is to keep your boards simple. I provide each student with a space on my board and make sure it’s easy and quick to change out their work. I have used paperclips, clothespins and tacks. The paper clips allow me to easily slip their work under the clip. The tacks allow for multiple sheets over the course of the semester and a clothesline with clothespins allows for easy access.
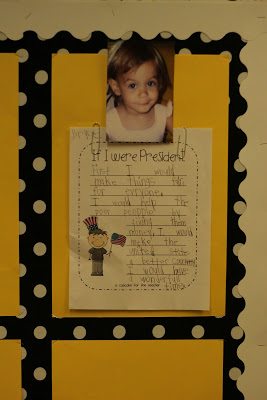
Paperclips are an easy option for switching out student work
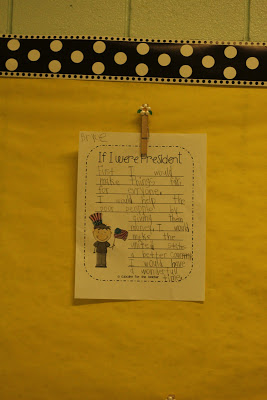
Clothespins are also very easy!
Tacks allow for multiple sheets over the course of the semester
Please share YOUR classroom photos!More Teachers’ Rooms

- Main Page: Other Teachers’ Rooms
- K-6 Photos: My Colleagues
- Kindergarten Photos: Mrs. Amoson
- Kindergarten Photos: Mrs. Partin
- 1st Grade Photos: Mrs. Alsager
- 1st Grade Photos: Mrs. Bennett
- 1st Grade Photos: Ms. Sheets
- 3rd Grade Photos: Mrs. Alexander
- 4th Grade Photos: Ms. Edelen
- 5th Grade Photos: Mrs. Moorman
- 6th Grade Photos: Ms. Jung
- 6th-8th Grade Photos: Ms. Esparza
- High School Photos: Mr. Dyre’s Science Lab
- Special Education Photos: Mrs. Heile and Mrs. Combs
Email the link to your Flickr, Tumblr, blog, or other site, or put the pics in a Word or PDF doc which I’ll upload to the site!
Angela Watson
Founder and Writer
Discussion
Leave a Reply
OR

Join our
community
of educators
If you are a teacher who is interested in contributing to the Truth for Teachers website, please click here for more information.


How do you set up your teacher desk/technology so far away from the Smart Board? I feel tied to my teacher area sometimes because I want to use the Smart Board/computer/document camera. Any suggestions would be greatly appreciated!